 If you have done art with kids at all, whether it be to a group, or to your own kids for homeschool art, or just as a fun activity, watercolors are something you have probably done more than once. Kids learn to use them at a very young age and because of the way they are packaged, all neat and dry in their own little containers, they make it easy to transport and use other places, too. You just need some watercolor paper, water and a brush, and you’ve got something fun to do.
For this project, the only other thing you need is a white crayon!
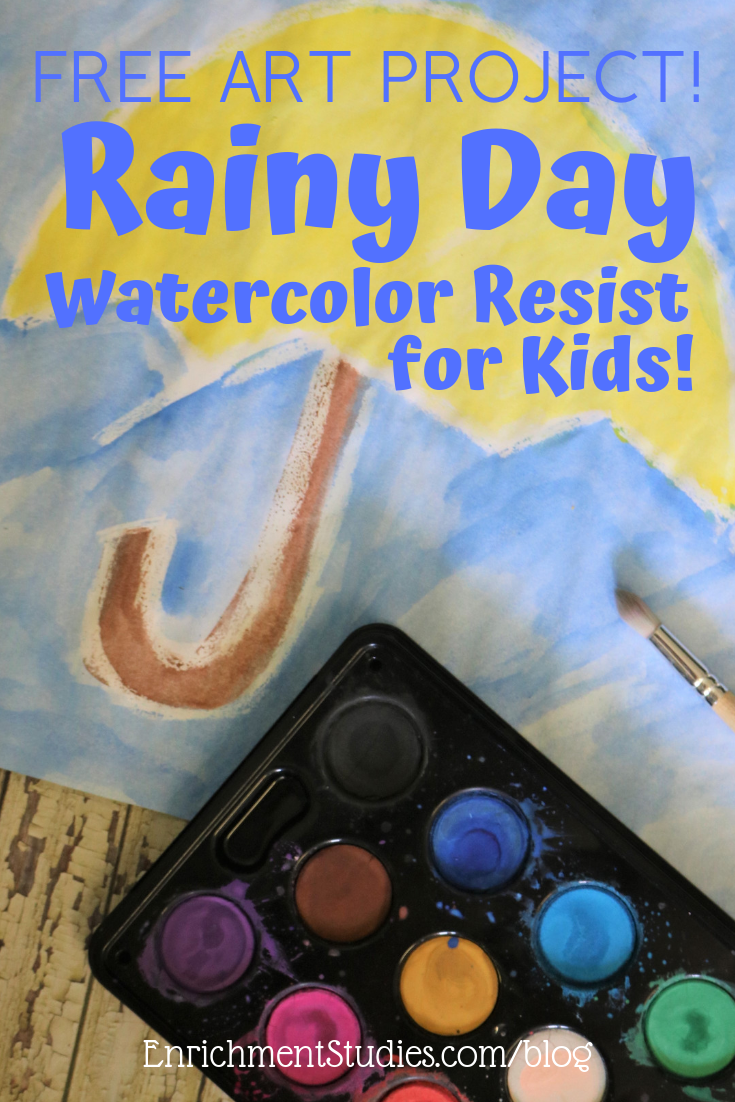
Watercolor resist is a technique where you draw a fairly simple design on your paper first, and the wax from the crayon “resists” the water and paint pigment, creating a neat look that is a magical thing to watch, too, so kids really enjoy it.
For this specific artwork, I was thinking for a rainy day activity, or during the summer when it can tend to be umbrella season, but truly, it is good for anytime. Amazon affiliate links have been used for some of the recommended supplies.
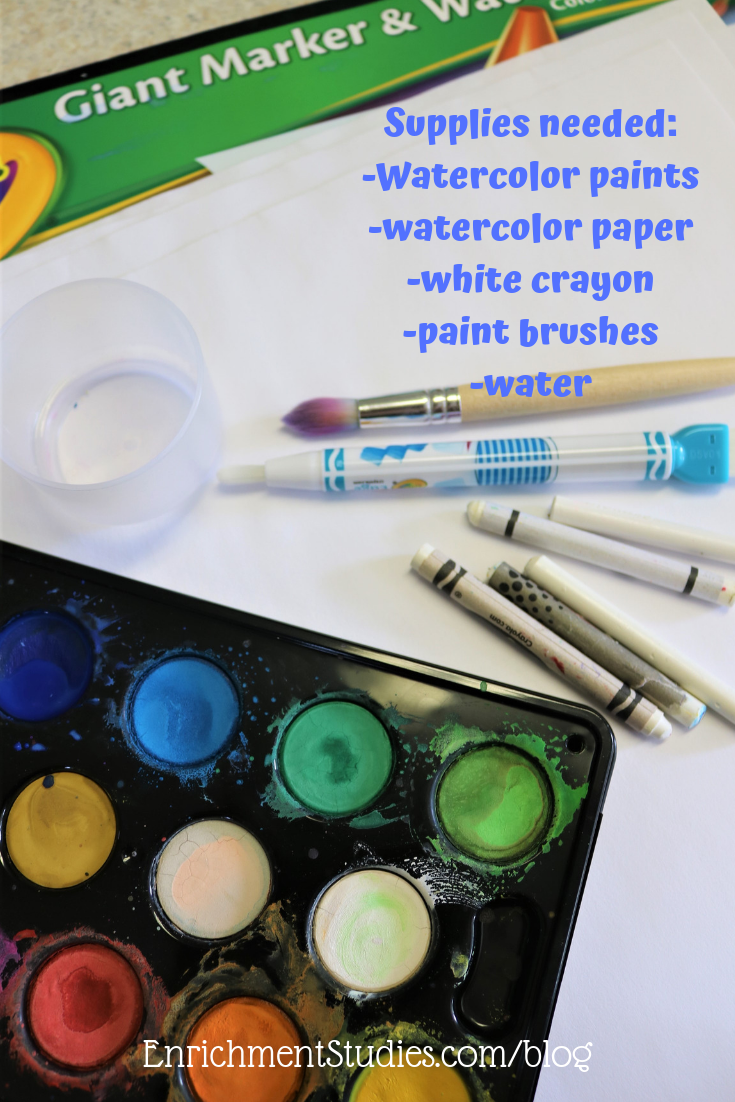 What you will need:
Watercolor paper: Yes, it really does make a difference to have the right paper. Regular paper gets soggy, rips and tears, and crinkles up when drying. Watercolor paper will give a much better outcome. One or two sheets per child.
Watercolor paints: I love this set for the vibrant colors, good coverage, and quality. SO much better than cheapie sets.
Brushes: A medium to large brush and a small brush for each child. I recommend this set of brushes because of the amount, variety of sizes, and quality.
White crayon – 1 per child
Cup of water and paper towels for each child
Hand wipes or a damp washcloth
Directions:
- Drawing the design: First thing, depending on the age of the kids, you may want to pre-draw the outline of the umbrella design for them with the white crayon. For kids maybe 3rd grade and under, this helps them get to experience the “magic” of seeing the white outline pop through the paint.Middlers (like 3rd-5th grade) may enjoy doing it once with you pre-drawing, and then a second time on their own once they’ve learned the technique. For older kids who you feel can design their own artwork easily, give them the crayons first and allow them to draw their own and then paint it. You can give them the theme of rainy day – I gave them summer rain, or something like that and they all came up with neat weather related paintings. It doesn’t have to be an umbrella. 🙂
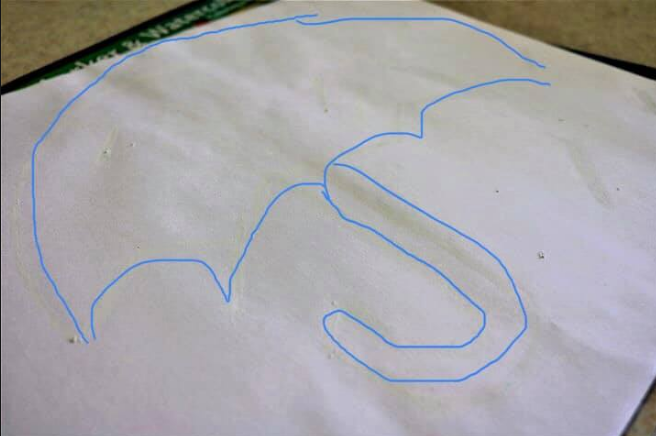
This is a very poorly done outline of what the white crayon design should be like on your paper. #humble
The crayon is a little hard to see when you begin, but if you tilt the paper in the light, it will reflect the light and it will be easier to see. Start out by drawing the umbrella top, since it is the most focal and large part of the painting, and go over the lines several times with the crayon. If you don’t make the lines nice and thick in crayon, it won’t resist the paint. Then, draw your handle and some rain drops in the same manner.
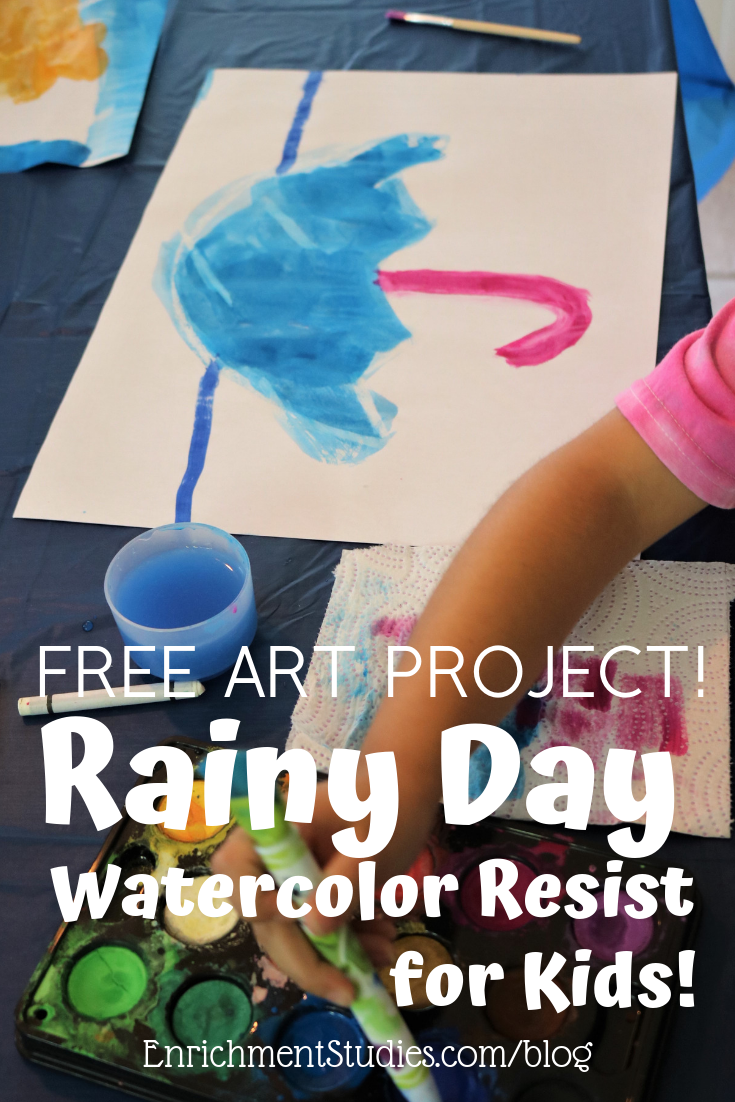 2. Painting: Now, give the kids the paints and brushes and water, and let them color in their umbrellas and skies. I told them to think “rainy day” or stormy type of skies, but I let them do it the way they wanted, and they all came out awesome.
If they are newer to watercolors, they may try to make the paints thick, the way they are used to seeing acrylics or other mediums, and if they go too thick, the water won’t repel off the wax, so try to explain to them that you want strong color, but you do need it to be wet and spread it around some, so the water shows through. I had a few who didn’t really grasp the concept and they painted it very thick, so hardly any white popped through. (They still painted beautiful pieces though!)
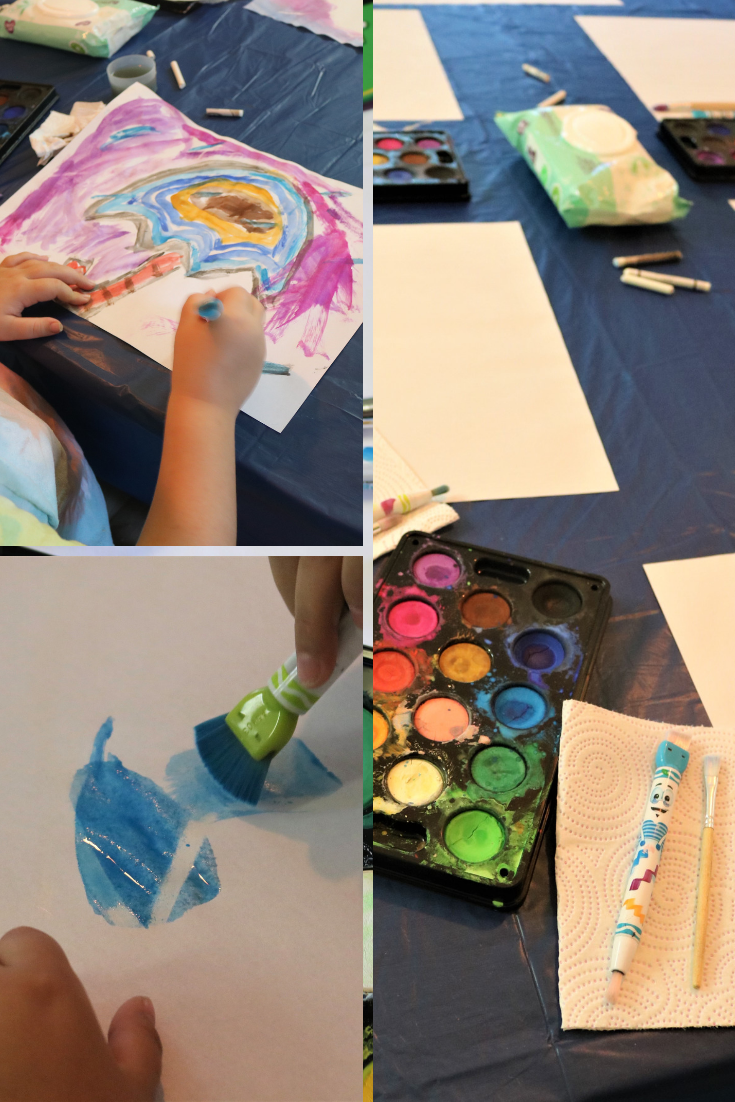

3. Drying: Once they are done with the watercolor paints, just allow them about 15 to 20 minutes to dry all the way.
Once you know how to make watercolor relief work, you can use it in lots of different ways!