My kids and I have done this super cool 3D hand art project a couple of times, and I think you will love this. Even if you lack strong artist talent, you can do this! All you need is ordinary while paper, pencils, a sharpie, and some bold colored markers or highlighters. (colored pencils or crayons can also be used, but don’t come across as well)
This video does a great job of showing you the how-to. I’d add a few tips:
1. If you make your lines too close together, it takes a long time to color each line in. On the other hand, if you go too wide, the effect isn’t as cool. So, think about spacing carefully.
2. When you’re going to draw the lines, start at the bottom of the paper. It’s easier to get the hang of creating the “bump” line when you go over the hand part down by the wrist.
3. When coloring your lines, I have found that if you leave just a tad bit of white space between the straight lines and the bump lines over the hand, it comes out looking better.
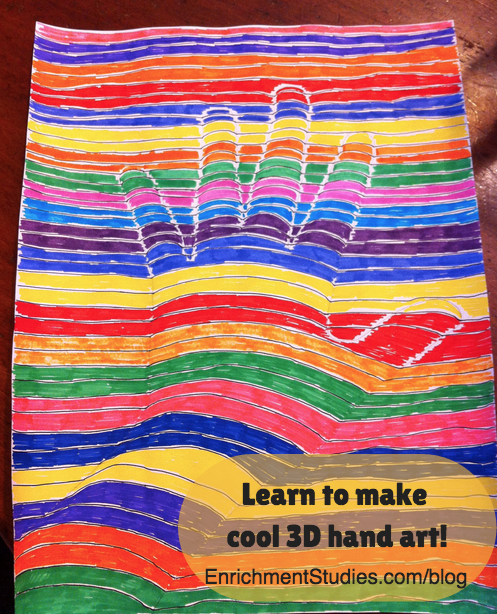
Here are some pics of what me and my kiddos did last year:
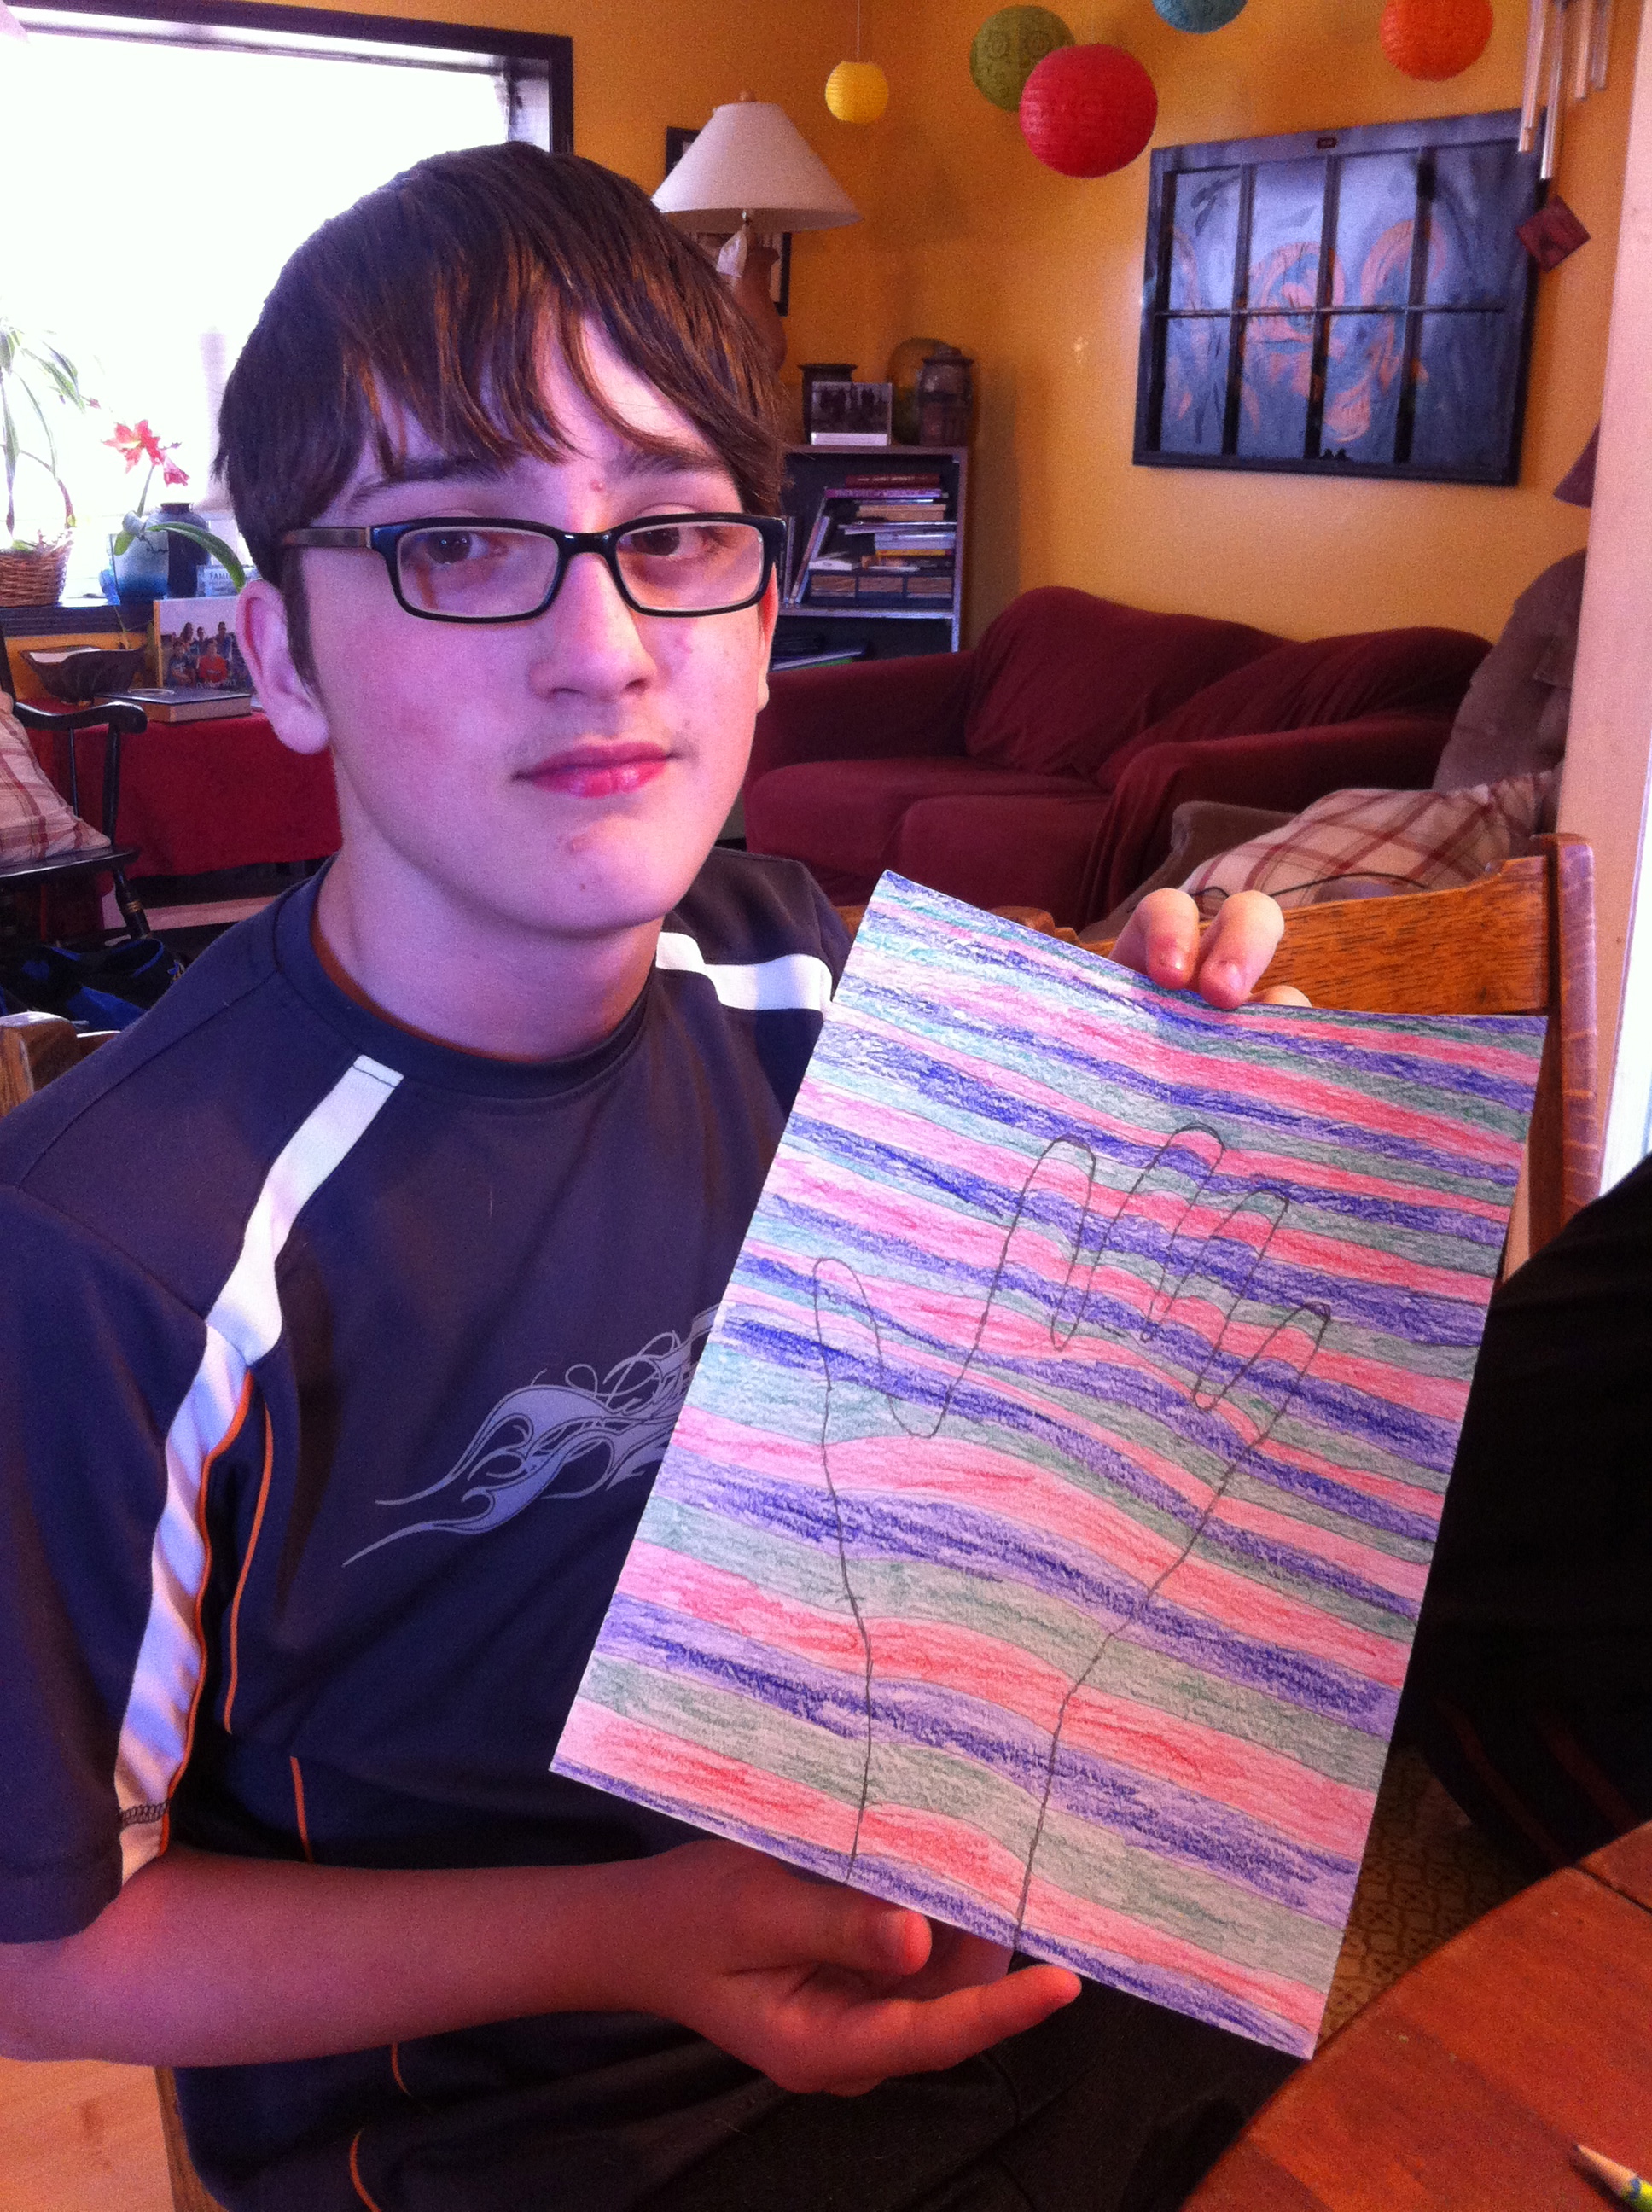
This is an example of how things don’t work out as well if you aren’t careful to get a good “bump” line when going over the hand.” Make your bump really different from the straight-ish lines on either side.
This is mine and you can see how I left some white space around the fingers. Looks cool, right?
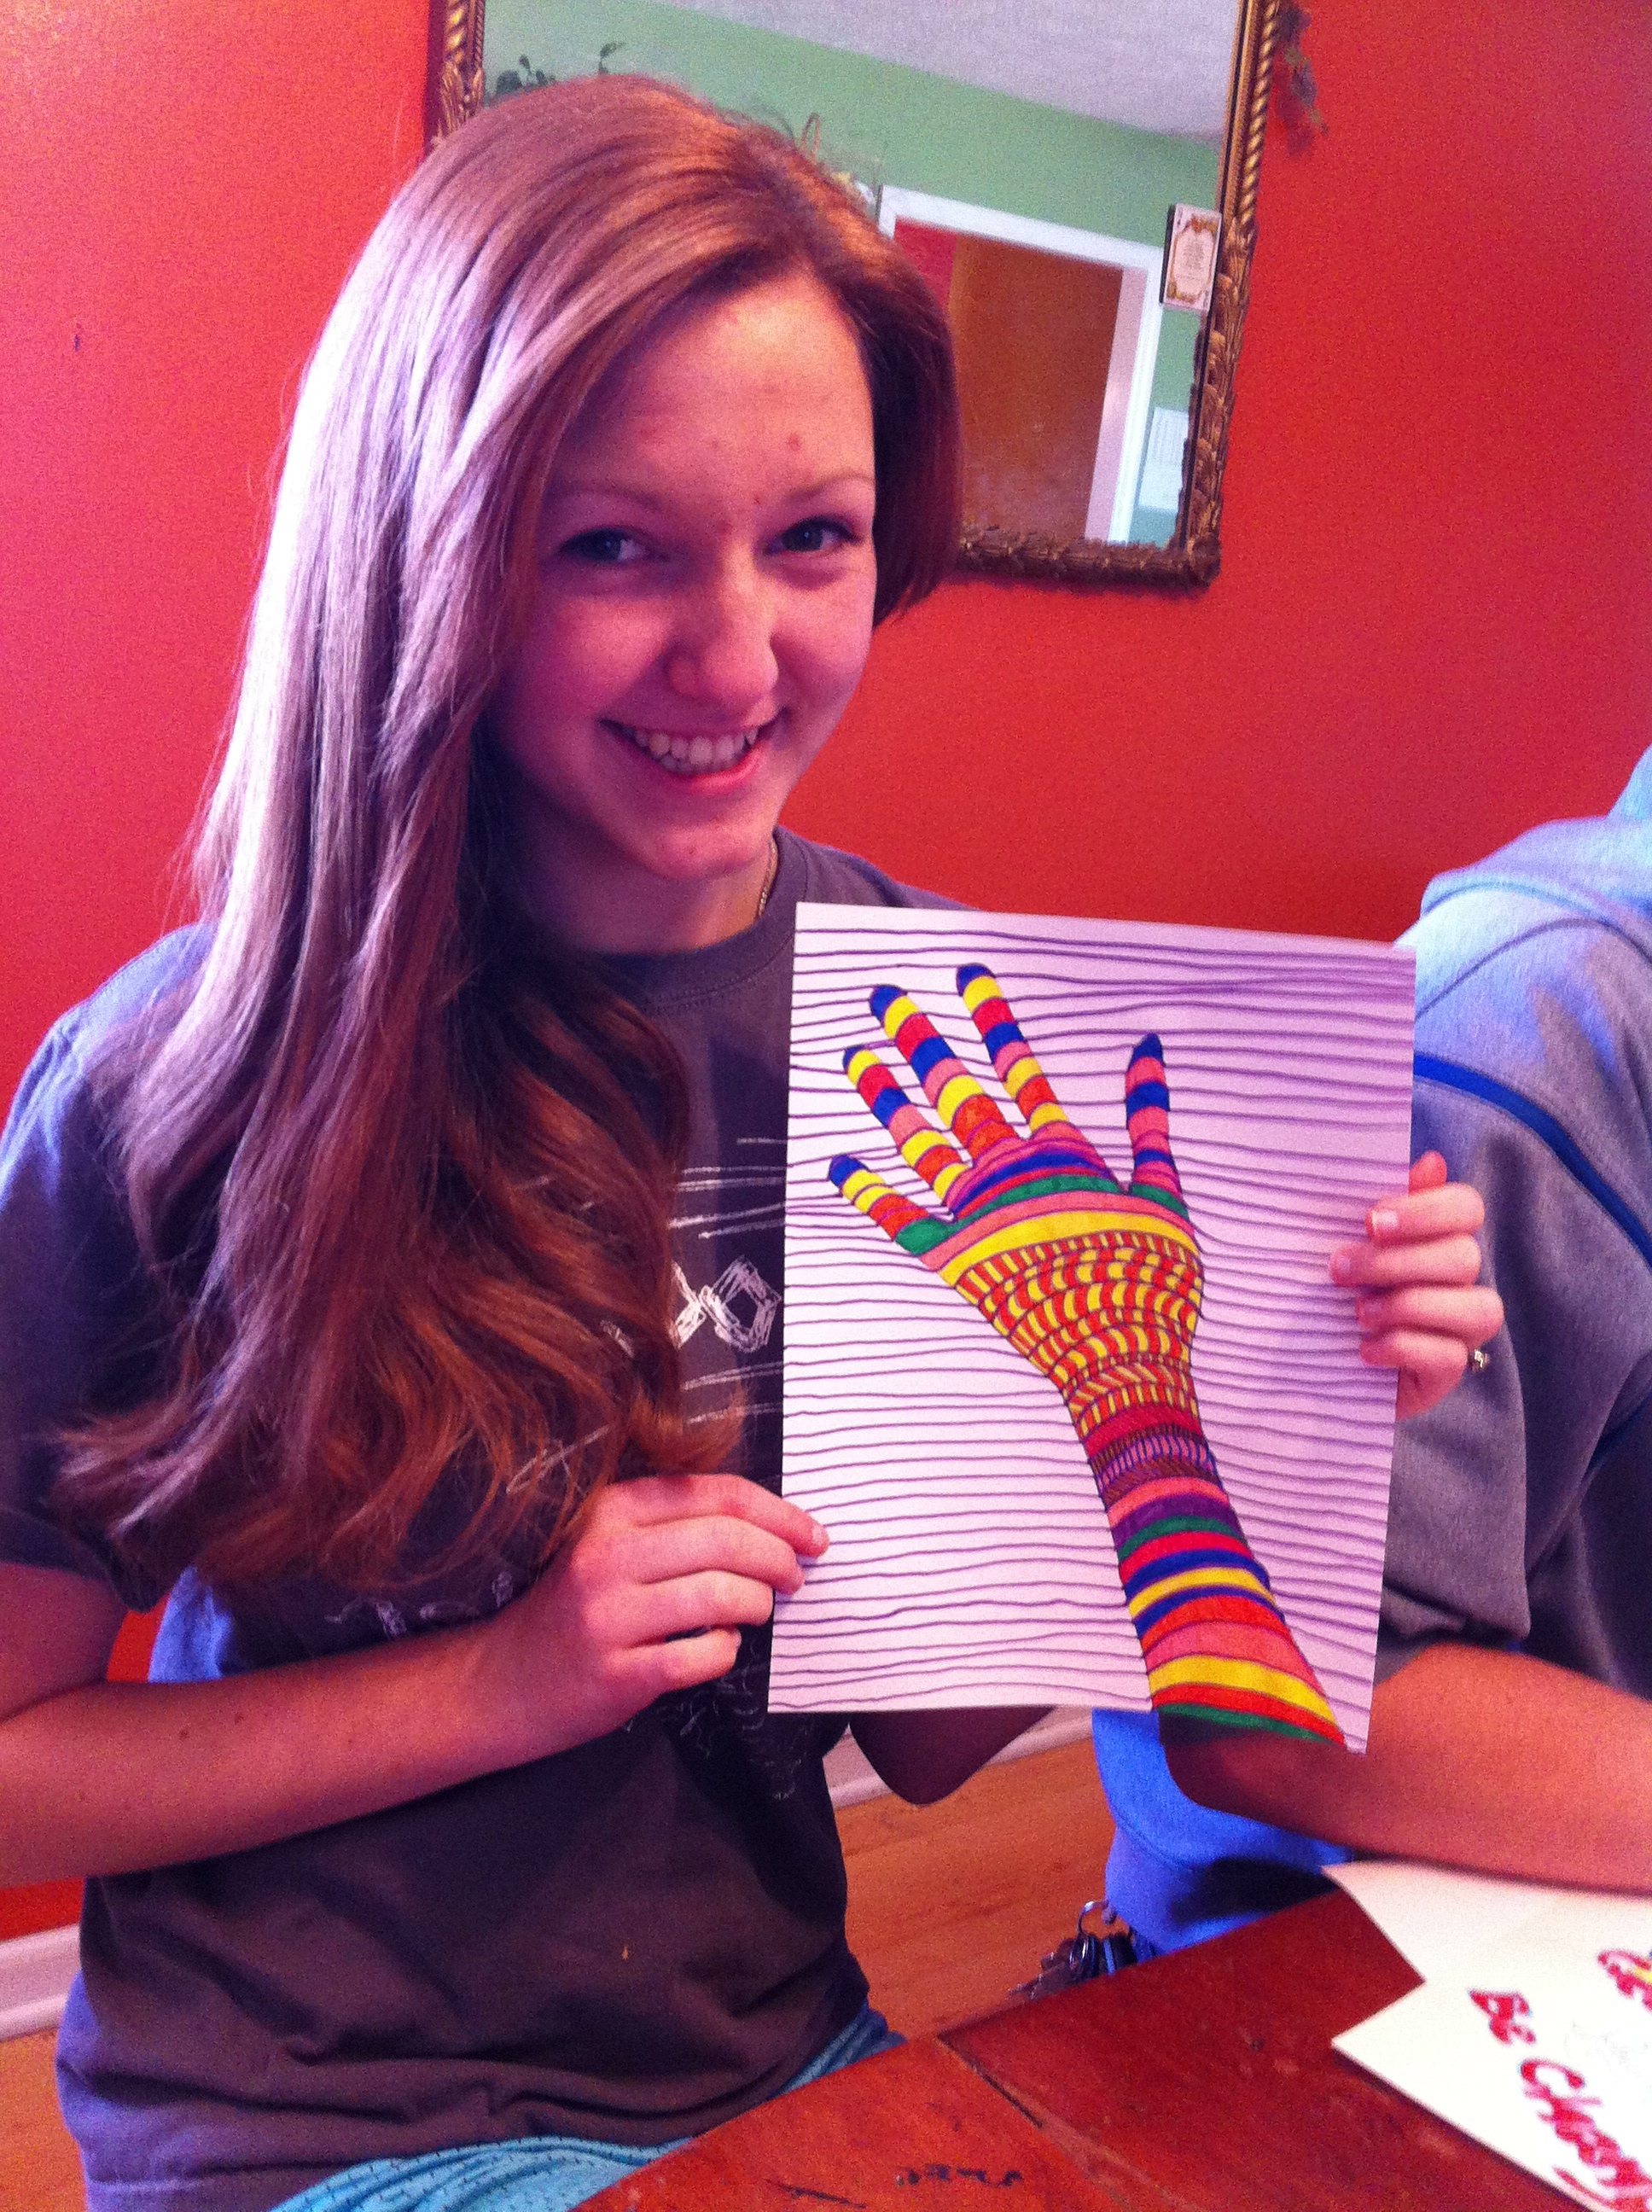
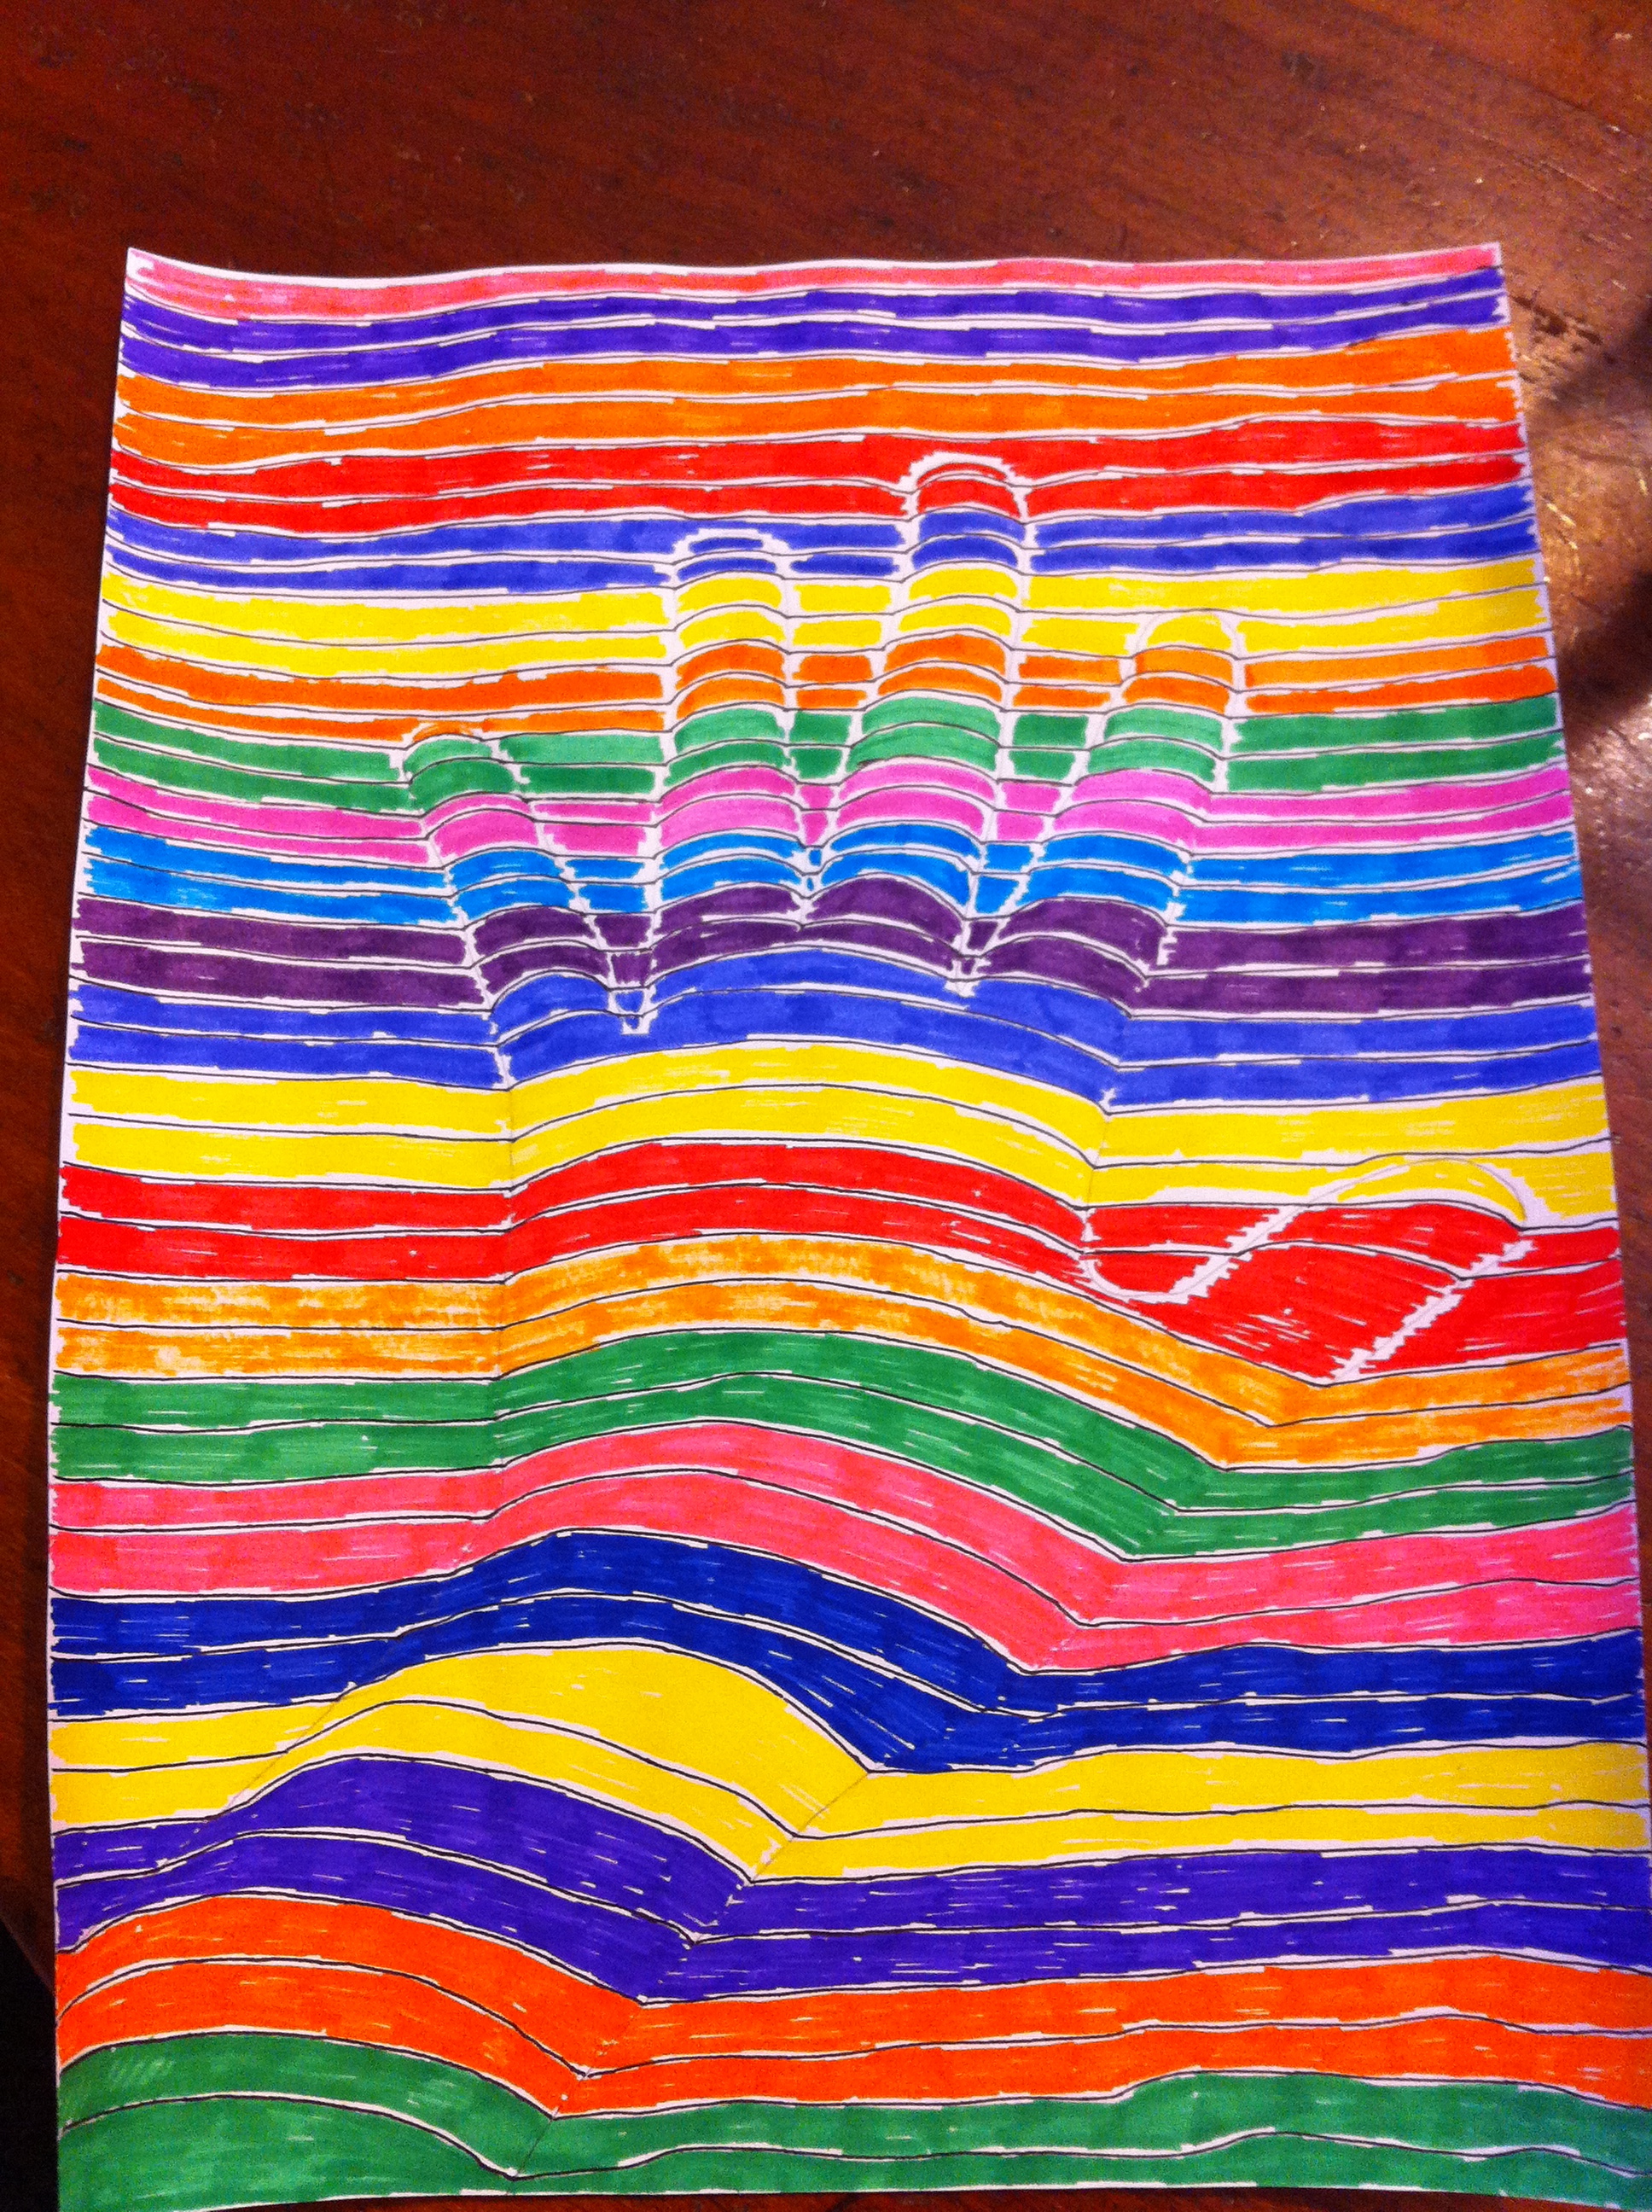
My ultra-talented artist daughter had her own spin on the project by patterning inside of the traced hand. Zentangle could work really well for this as well.

Just a touch of something unusual in there. Peek-a-boo!
[mashable]