by Erica Johns | Jul 31, 2016 | Art
This post was written for us by a homeschool mom in Florida.

The Salvador Dali Museum in St. Petersburg, Florida is a perfect place to take your whole family, and incorporate some educational time for homeschooling, while having a fun day and seeing something totally new.
We have visited more than one time as homeschoolers and every time seen some new things but also have loved to see some of the same things and enjoy the outdoor area again as well. The museum is for sure kid-friendly and does not give you the cold, snooty feel that some art museums tend to put off. They are welcoming for kids and the staff is very friendly.
To begin, I would say that paying attention to detail pays off in this place, from the entrance to the exit. The whole experience is unlike any other place you’ve been and knowing that going in may help you see more than you would’ve.
The first thing to see, once you pay and go through the entry, is the central staircase that leads all the way up to the top floor. It is shaped like DNA, double helix, and is awesome from the floor view, as well as the top view. Make sure when you get to the top floor that you go out to the window side and see out to the boats and marinas, and get a good look down on the back area of the museum and gardens. Viewing the glass panes on the back is really neat form this angle.

Before heading upstairs (or up the elevator if stairs aren’t your thing), get a headset for each person to use as your tour guide, unless you are doing a led tour though the museum. It shares a lot of great information that you would never get on your own just from looking at the paintings. Dali’s mind was a wild place to be and his talent as a painter was phenomenal. This museum is truly a treasure and we are blessed to have it to visit.
One other thing you will want to ask for, if they do not offer it, is the scavenger hunt that they have for the kids to do. It’s really well done, but not overly difficult, either. It educates them on the more interesting facts about Dali and his paintings but on a level they will appreciate. It is good to know, in case of whining, that they will get a choice from several different prizes at the end when they show the completed hunt to the staff, and they are nice items!

The museum, most times has not just the main Dali exhibit, but a second one where they feature another artist also. I have seen this four different times and each time come away so impressed. It is a perfect way to do an artist biography in your schooling, especially if you know ahead of time who is being featured when you go. You’re getting two artists in one day.
Be sure that you take your time viewing his extra-large paintings and listening in on the details and hidden things in them. They are unbelievable in person, and to be honest, his very small ones are the same way, as far as the talent. You can’t believe how tiny he could paint some of these things and with photo- realism.
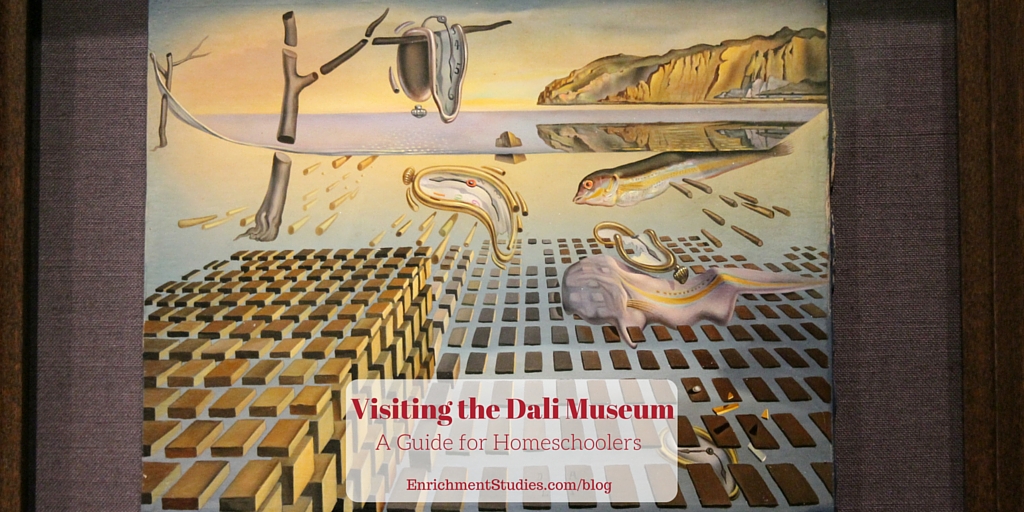
As far as what else you can do while there, in addition to the exhibits, there is a café and a gift shop to see before heading out to the awesome garden area.
The gift shop has many collectible items, all sorts of books, and some great educational things. They have a children’s section in the shop, too.
If you haven’t already heard the history and details about the back side of the building, be sure to have someone on the staff fill you in. Then, go out and check it out. The shapes are so neat and not one is the same size. We always tend to linger awhile out in the garden. There is just something relaxing and still entertaining about it, and it tends to not be crowded either.
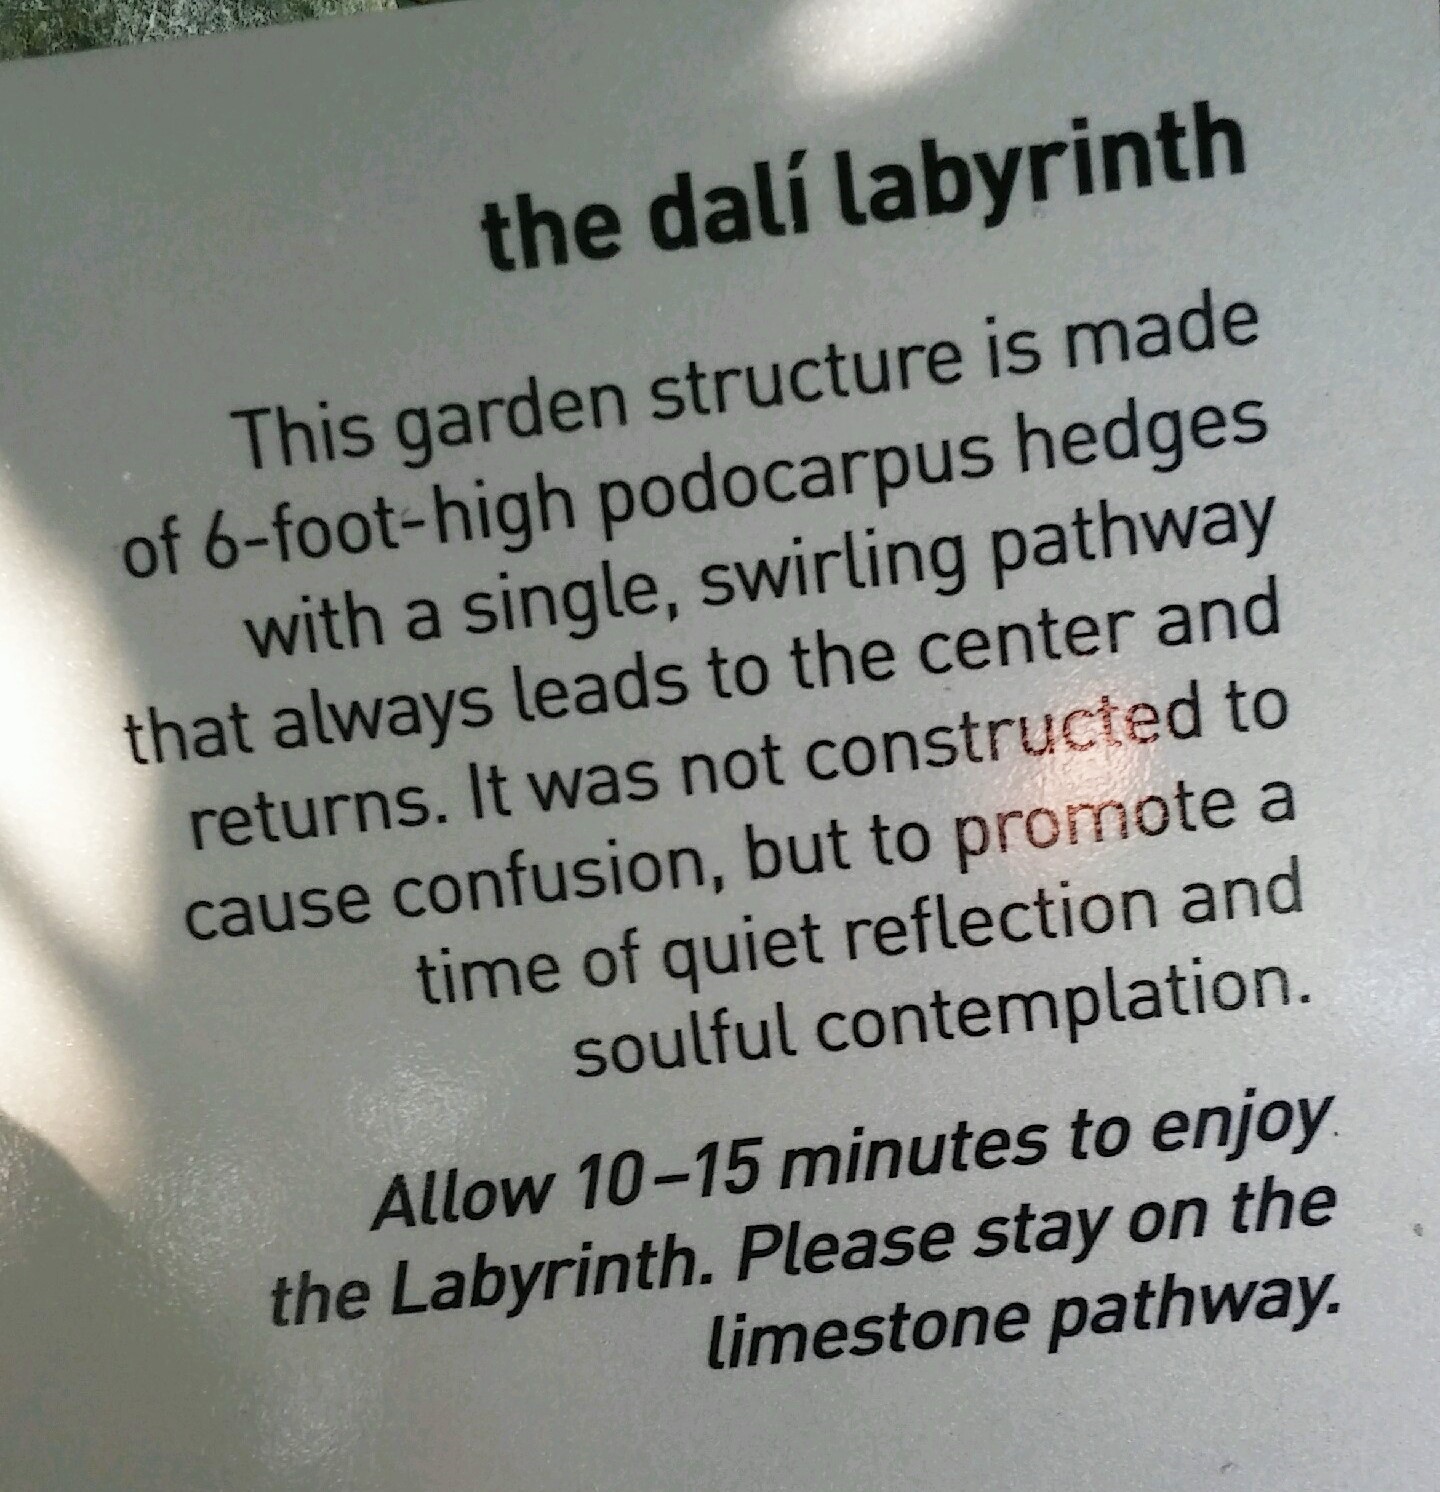
There is a maze can all go through together, it is very fun, but also not too lengthy, so if you are there in the heat, don’t worry that it will take too terribly long.
There are also some fun tiles in the grass that represent mathematical things and is a neat feature for the kids to play on.

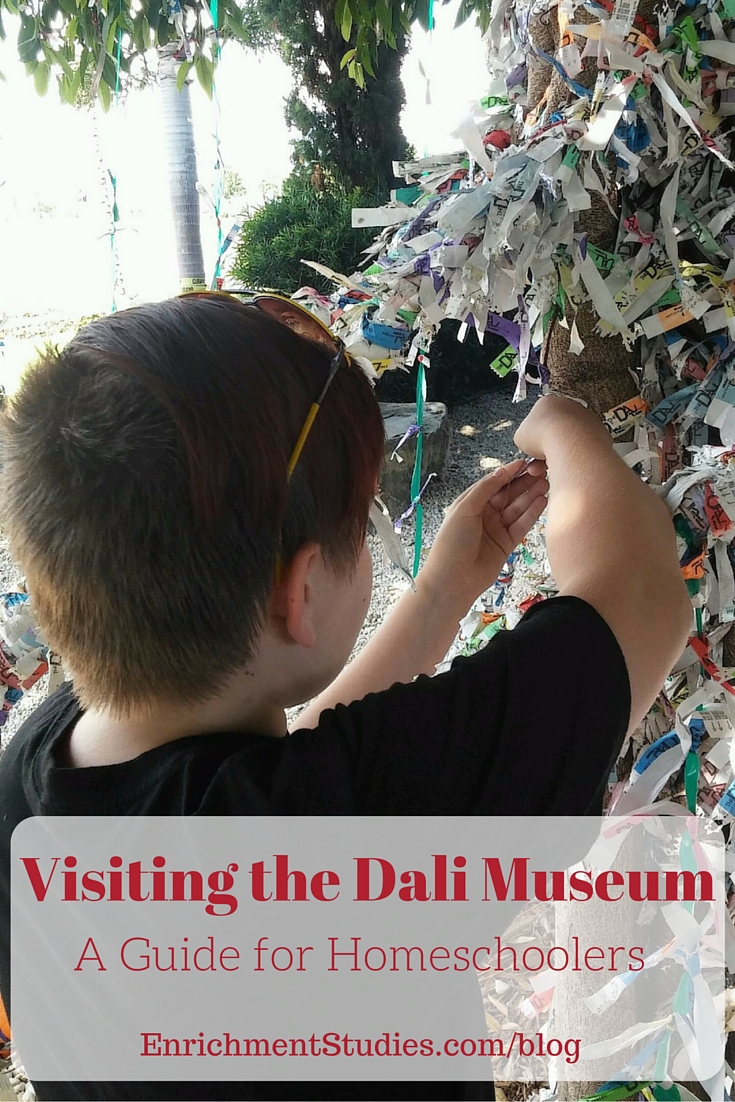
One of the best parts out there is a banyan tree in the center of the garden area where people take off their entry bracelets, make a wish, and tie them to the tree. Seeing the different colors if really neat and how many of them there are.
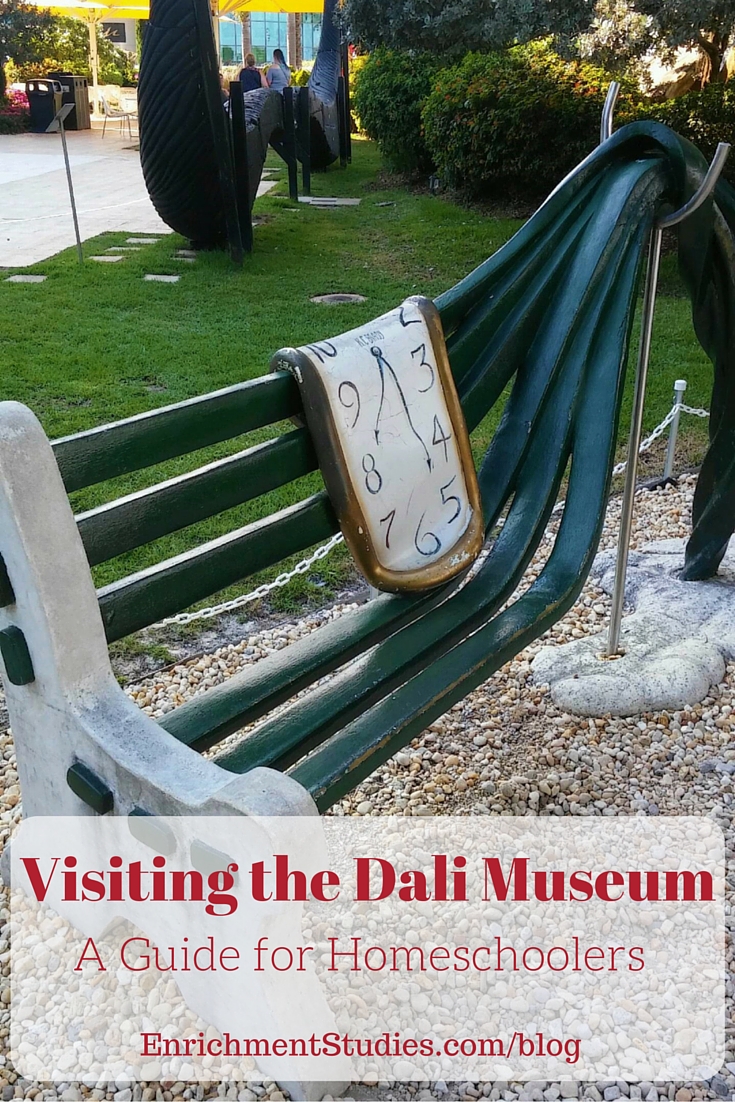
There are some other really neat details all over this area, like a giant mustache sculpture, “melting” bench, and a metal bird that has a Dali mustache. Make sure you explore it well.
If your kids need to burn a little energy before you head out, this is the perfect spot to do that.
Overall, between the pure artistic talent you will have been a witness to, the genius of knowing even a little of Dali’s mind and his math fascination and other insights, I think you will find the museum to be a place you will glean a lot from and want to visit again.
by Erica Johns | Jul 29, 2016 | Art
 I know that so many of you are looking for great ideas for painting with your children, so I was very excited to find out about the 2016 Paint-a-Thon project! This effort brings together over 50 bloggers that share about making art with your kids, so you are not going to run out of inspiration here!
This project will be adding more links throughout August, so be sure to check back with them regularly to see what’s on the list. What a great way to find some fresh ideas! (especially for those of us that get a little overwhelmed and don’t know where to begin with doing actual art projects)
I’m excited to have two of my own projects included in the effort (Red Poppies and Handprint Peacock) as well.
by Erica Johns | Jul 28, 2016 | Art
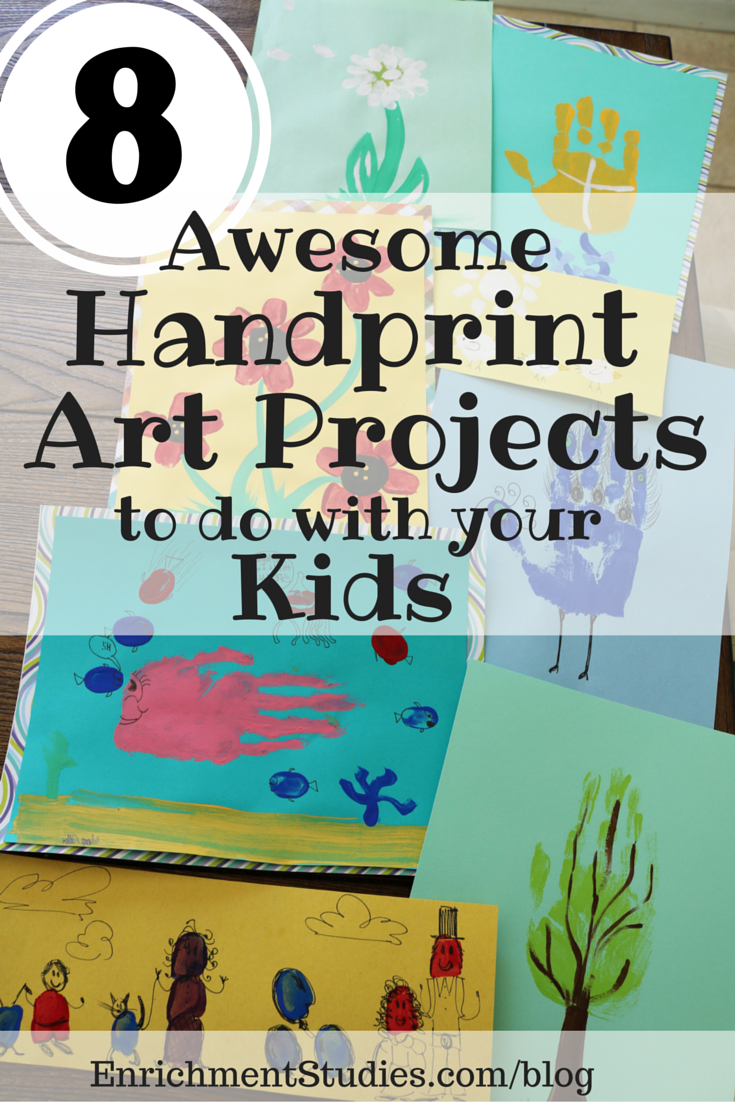 Doing handprint art with your kids is a great way to preserve those prints for yourself or other family members while still letting your kids have fun, get creative, and try out some new ways of doing and thinking about art.
There are two main ways to do the prints:
One is to just use fingertips, and let the kids make scenes, where they can turn it into whatever they choose. These can be really fun and offer limitless outlets for creativity.
The other method is to use the entire hand print as a base form, and then turn that into something cool.
Either way, plan to do these projects in stages. Stage one includes making the prints and then having ample time to let them dry. Stage two includes adding details to your prints. Be sure to leave plenty of time for both. Doing a morning and afternoon session can work, or you could do the projects on two consecutive days. (Affiliate links have been used for supplies. Thank you for helping support this site!)
Supplies you will need:
- Colored paper and paper with patterns if you choose to do the matted look and mount them for impact. (See photos.)
- Glue sticks for mounting
- Small paint brushes: I recommend this brand of brushes. They do not fall apart like cheaper brushes do, they hold up to frequent use and proper cleaning as well.
- Foam flat brushes
- Colored acrylic paints: This is the same set I have in my own home. You get a nice variety of colors at a good price. Plus, the box this set comes in is sturdy, so you can continue to use it for storage.
- Black sharpie or nice thin pens for detailing
The projects:
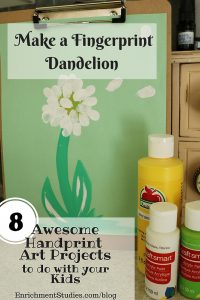


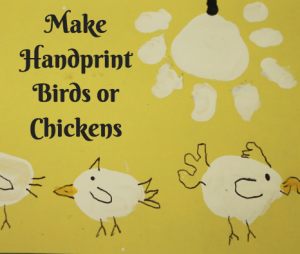

by Erica Johns | Jul 28, 2016 | Art
Welcome to one of the projects in our series 8 Awesome Handprint Art Projects to do With Your Kids! To learn more about the project and see a complete list of methods, materials and projects, click here to start at the beginning. (new tab will open for you) Affiliate links are used in this post.
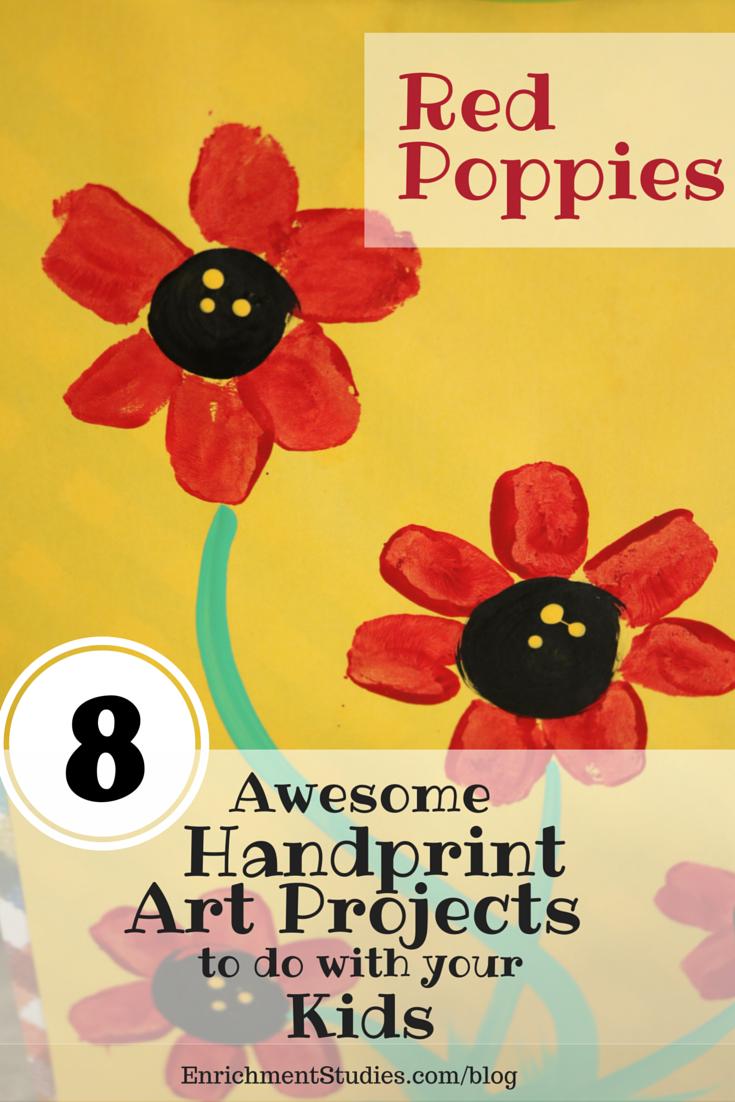
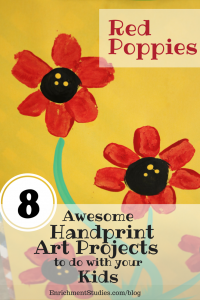
1. Red Poppies
Supplies you will need:
- Colored paper and paper with patterns if you choose to do the matted look and mount them for impact.
- Glue sticks for mounting artwork onto background paper
- Small paint brushes: I recommend this brand of brushes. They do not fall apart like cheaper brushes do, they hold up to frequent use and proper cleaning as well.
- Foam flat brushes
- Colored acrylic paints: This is the same set I have in my own home. You get a nice variety of colors at a good price. Plus, the box this set comes in is sturdy, so you can continue to use it for storage.
- Black sharpie or nice thin pens for detailing
You will need Yellow, black, green, and white paint. Yellow paper works great!
- Paint the leaves and stems in green.
- Make the flower petals using red paint and a fingertip. The thumb is ideal. Turn the paper as you go around to make it easier to reach and get the right angle.
- Once the paint dries a bit, paint a black circle in the center of each flower. Add yellow dot accents by dipping the handle of the paintbrush into the yellow paint and making the dots. Use white paint to make highlights on the leaves.
- Complete your artwork by mounting it onto a background page that peeks out around the edges to form a frame and give it a matted look. Use glue stick on the back of your artwork to affix it to the background page.
All posts in this series:
- Intro to the series
- Red Poppies
- Handprint Trees
- Handprint Fish
- Fingerprint Dandelion
- Handprint Kite
- Handprint Peacock
- Handprint Birds or Chickens
- Hand and fingerprint creative scene
This project has also been included in the 2016 Paint-a-Thon project, which is full of a ton of great art ideas for you to use in your home!

by Erica Johns | Jul 28, 2016 | Art
Welcome to one of the projects in our series 8 Awesome Handprint Art Projects to do With Your Kids! To learn more about the project and see a complete list of methods, materials and projects, click here to start at the beginning. (new tab will open for you) Affiliate links have been used.

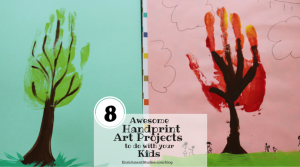
2. Tree
Supplies you will need:
- Colored paper and paper with patterns if you choose to do the matted look and mount them for impact. (See photos.)
- Glue sticks for mounting
- Small paint brushes: I recommend this brand of brushes. They do not fall apart like cheaper brushes do, they hold up to frequent use and proper cleaning as well.
- Foam flat brushes
- Colored acrylic paints: This is the same set I have in my own home. You get a nice variety of colors at a good price. Plus, the box this set comes in is sturdy, so you can continue to use it for storage.
- Black sharpie or nice thin pens for detailing
You will need washable acrylic paint in either green and brown, or fall colors of red, orange, yellow, and brown.
- Use flat foam brush to paint the entire palm side of hand in either green or fall colors. Press hand down slowly right in the center of the paper, being careful to press all fingers and the palm down well. Slowly pull up.
- Paint the tree trunk in brown. Let dry for a few minutes.
- Once the first paint isn’t too wet, you can paint in branches and accents.
- Once paint is totally dry, you can add more details with pen or marker, as you like.
- Complete your artwork by mounting it onto a background page that peeks out around the edges to form a frame and give it a matted look. Use glue stick on the back of your artwork to affix it to the background page.
All posts in this series:
- Intro to the series
- Red Poppies
- Handprint Trees
- Handprint Fish
- Fingerprint Dandelion
- Handprint Kite
- Handprint Peacock
- Handprint Birds or Chickens
- Hand and fingerprint creative scene
by Erica Johns | Jul 28, 2016 | Art
Welcome to one of the projects in our series 8 Awesome Handprint Art Projects to do With Your Kids! To learn more about the project and see a complete list of methods, materials and projects, click here to start at the beginning. (new tab will open for you) Affiliate links have been used.

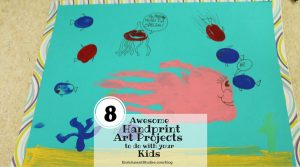
3. Fish
Supplies you will need:
- Colored paper and paper with patterns if you choose to do the matted look and mount them for impact. (See photos.)
- Glue sticks for mounting
- Small paint brushes: I recommend this brand of brushes. They do not fall apart like cheaper brushes do, they hold up to frequent use and proper cleaning as well.
- Foam flat brushes
- Colored acrylic paints: This is the same set I have in my own home. You get a nice variety of colors at a good price. Plus, the box this set comes in is sturdy, so you can continue to use it for storage.
- Black sharpie or nice thin pens for detailing
You will need whatever color you choose to make the fish in, pinks, reds, white, and blues are best. Underwater colors work best for the paper–greens, blues, gray.
- Start by painting any details like seaweed, shells, or sea creatures in first with paint brushes, leaving space for wherever you want to put your big handprint fish.
- Use foam brush to paint the entire palm side of hand in the fish color of your choice. Press hand down slowly on the paper wherever you want your fish to go, being careful to press all fingers and the palm down well. Slowly pull up. Let the paint dry.
- After all the paint is dry you can come back with markers or pens to add details.
- Complete your artwork by mounting it onto a background page that peeks out around the edges to form a frame and give it a matted look. Use glue stick on the back of your artwork to affix it to the background page.
All posts in this series:
- Intro to the series
- Red Poppies
- Handprint Trees
- Handprint Fish
- Fingerprint Dandelion
- Handprint Kite
- Handprint Peacock
- Handprint Birds or Chickens
- Hand and fingerprint creative scene


