by Erica Johns | Jul 28, 2016 | Art
Welcome to one of the projects in our series 8 Awesome Handprint Art Projects to do With Your Kids! To learn more about the project and see a complete list of methods, materials and projects, click here to start at the beginning. (new tab will open for you) Affiliate links have been used.
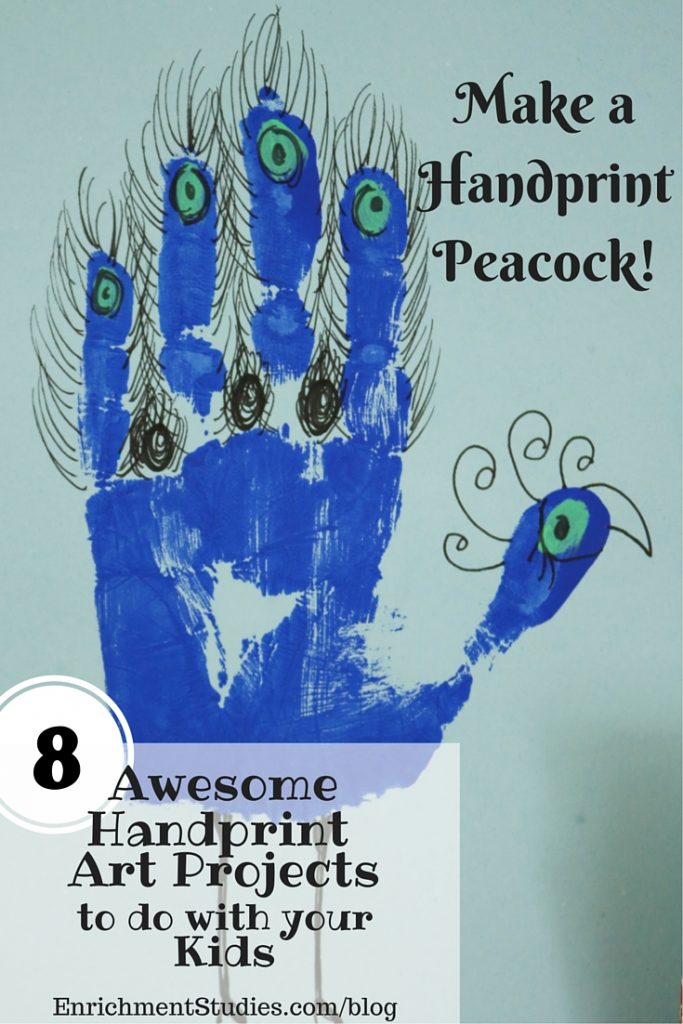
6. Peacock
Supplies you will need:
- Colored paper and paper with patterns if you choose to do the matted look and mount them for impact. (See photos.)
- Glue sticks for mounting
- Small paint brushes: I recommend this brand of brushes. They do not fall apart like cheaper brushes do, they hold up to frequent use and proper cleaning as well.
- Foam flat brushes
- Colored acrylic paints: This is the same set I have in my own home. You get a nice variety of colors at a good price. Plus, the box this set comes in is sturdy, so you can continue to use it for storage.
- Black sharpie or nice thin pens for detailing
You will need dark cobalt blue, teal and a black fine pen.
- Paint the entire palm of hand with a foam brush, in the dark blue. Press down carefully in the center of the paper, being sure to make good contact. When removing your hand from the paper, roll it off to the side to gradually release it from the page, rather than lifting straight up.
- Let it dry and then paint your pinky fingertip in teal, and add one fingertip dot to each of the dark blue fingertips on the paper.
- Once those are dry, go in and use the pen to add in feather details, face, legs, and so on.
- Complete your artwork by mounting it onto a background page that peeks out around the edges to form a frame and give it a matted look. Use glue stick on the back of your artwork to affix it to the background page.
All posts in this series:
- Intro to the series
- Red Poppies
- Handprint Trees
- Handprint Fish
- Fingerprint Dandelion
- Handprint Kite
- Handprint Peacock
- Handprint Birds or Chickens
- Hand and fingerprint creative scene
This project has also been included in the 2016 Paint-a-Thon project, which is full of a ton of great art ideas for you to use in your home!
by Erica Johns | Jul 28, 2016 | Art
Welcome to one of the projects in our series 8 Awesome Handprint Art Projects to do With Your Kids! To learn more about the project and see a complete list of methods, materials and projects, click here to start at the beginning. (new tab will open for you) Affiliate links have been used.
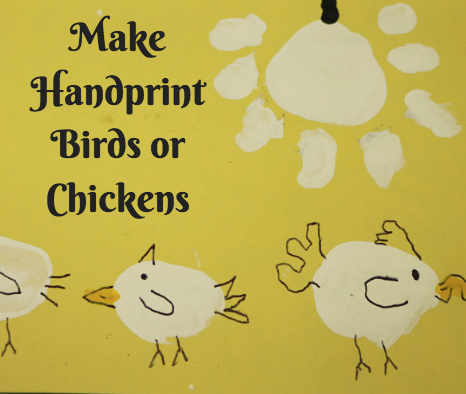
7. Birds or chickens
Supplies you will need:
- Colored paper and paper with patterns if you choose to do the matted look and mount them for impact. (See photos.)
- Glue sticks for mounting
- Small paint brushes: I recommend this brand of brushes. They do not fall apart like cheaper brushes do, they hold up to frequent use and proper cleaning as well.
- Foam flat brushes
- Colored acrylic paints: This is the same set I have in my own home. You get a nice variety of colors at a good price. Plus, the box this set comes in is sturdy, so you can continue to use it for storage.
- Black sharpie or nice thin pens for detailing
You will need white paint and/or any color you’d like to make the birds and a black fine pen.
- Using your fingertips in different sizes, make birds or chickens by first making dots with them on the paper and letting them dry.
- Once they are dry, go back in with the pen and draw legs, feathers on heads, faces and beaks. So cute!
- Complete your artwork by mounting it onto a background page that peeks out around the edges to form a frame and give it a matted look. Use glue stick on the back of your artwork to affix it to the background page.
All posts in this series:
- Intro to the series
- Red Poppies
- Handprint Trees
- Handprint Fish
- Fingerprint Dandelion
- Handprint Kite
- Handprint Peacock
- Handprint Birds or Chickens
- Hand and fingerprint creative scene
by Erica Johns | Jul 28, 2016 | Art
Welcome to one of the projects in our series 8 Awesome Handprint Art Projects to do With Your Kids! To learn more about the project and see a complete list of methods, materials and projects, click here to start at the beginning. (new tab will open for you) Affiliate links have been used.
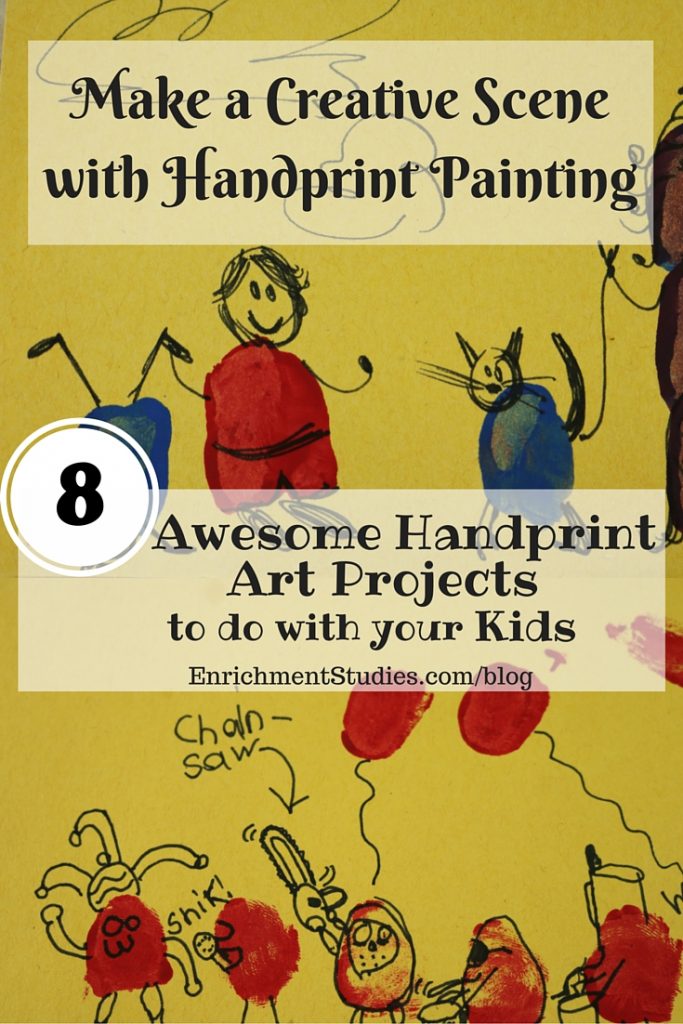
8. Make a creative scene
Supplies you will need:
- Colored paper and paper with patterns if you choose to do the matted look and mount them for impact. (See photos.)
- Glue sticks for mounting
- Small paint brushes: I recommend this brand of brushes. They do not fall apart like cheaper brushes do, they hold up to frequent use and proper cleaning as well.
- Foam flat brushes
- Colored acrylic paints: This is the same set I have in my own home. You get a nice variety of colors at a good price. Plus, the box this set comes in is sturdy, so you can continue to use it for storage.
- Black sharpie or nice thin pens for detailing
You can use any color paint you choose for these and then you’ll need a fine black pen.
- You can cut pieces of construction paper in half to make a long piece for each child for these and then it doesn’t use as much paper.
- They can use any combination of fingertips, stacking or doubling even, and getting creative in making a themed picture. Let them do the fingertips and then let dry.
- Once it’s dry, they can go back in with pen and fill in details. They come up with some great stuff doing these!
- Complete your artwork by mounting it onto a background page that peeks out around the edges to form a frame and give it a matted look. Use glue stick on the back of your artwork to affix it to the background page.
All posts in this series:
- Intro to the series
- Red Poppies
- Handprint Trees
- Handprint Fish
- Fingerprint Dandelion
- Handprint Kite
- Handprint Peacock
- Handprint Birds or Chickens
- Hand and fingerprint creative scene
by Erica Johns | Jul 27, 2016 | Art
Affiliate links are used in this post.
I know that so many of you will be studying Ancient History this year, so you are going to be very interested in what’s coming available from The Art Curator for Kids!
First up is a FREE mini course on Prehistoric Art, which is so cool! This is an area of art that is often overlooked in more traditional art appreciation courses, but is so fascinating. This class is ideal for your high schoolers, and for your own education that you can use when teaching your own children, or even if you will use your new knowledge to teach a co-op class. This free class begins in August 15.
Now, I do want to let you know about a few things:
- Pre-historic art is discussed, with the timeline of the world going back to 2.6 million years BC. For those of you that object to anything other than young earth viewpoints, this may not be for you. Personally I found the mentions of timelines to be perfectly fine, and something that would not hinder me from learning about prehistoric art.
- Lesson Two spends time studying paleolithic venus sculptures, such as Venus of Willendorf. This type of art is common for the time period, the handling of the subject matter is appropriate, but if you do not want your child to view prehistoric nudity in art, this may not be for you.
Instructor Cindy Ingram does an excellent job of teaching in a personable and informative way. I personally love learning new things for myself and to become more equipped to be a better home educator, and as I watched these class videos I felt myself feeling more and more excited to have learned so much new and interesting information! Don’t forget to fill your own cup, too, fellow homeschool moms! This is a free class and doesn’t take a lot of time, so it’s a perfect place to start,
Included in the class are
- videos
- workbook to download
- assignments such as art observation, essays, reflection, poetry, and more
- facebook group access to discuss with other participants as well
Click here to go sign up for this free course!
Coming this fall there will also be a full Ancient History art appreciation course that will include art from Mesopotamia, Greece, Rome, China, Japan, and more. This will be a wonderful opportunity for you to add another layer of understanding to ancient history!
by Erica Johns | Jul 24, 2016 | Art, Fine Arts Friday, Great Stuff for Homeschool Moms
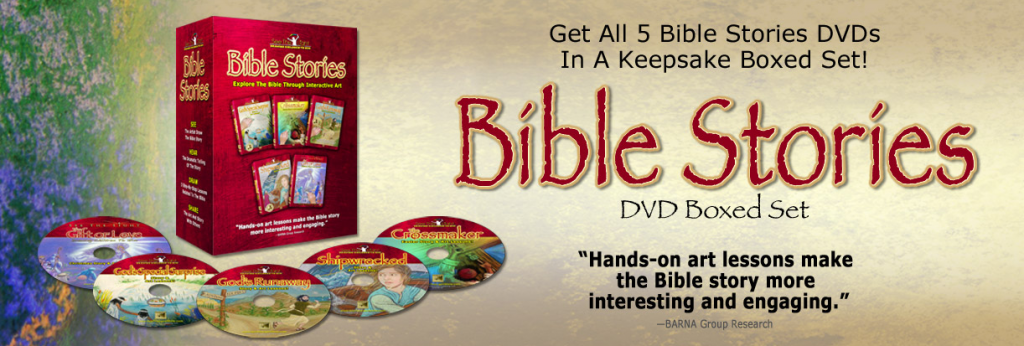
I am so delighted to tell you about a wonderful product from See the Light! This company offers beautifully-produced video art instruction that is perfect for homeschool families and from those looking for additional art instruction for your children. Instructor Pat Holt has made it so easy for you to just pop in a disc and let your children benefit from high quality art instruction, at extremely affordable prices.
This collection retails for $74.95 and includes 5 DVDs with over 17 hours of content! With the help of this collection, your children will:
- SEE the artist draw the Bible story.
- HEAR the dramatic telling of the story.
- DRAW step-by-step lessons related to the Bible.
- SHARE the art and the story with others.
Check out a video sample of how terrific this is:
You can view more video samples from See the Light here. Scroll down to where it says Bible Stories to see more samples from this collection.
You can also take 3 FREE video art lessons from Pat here!


